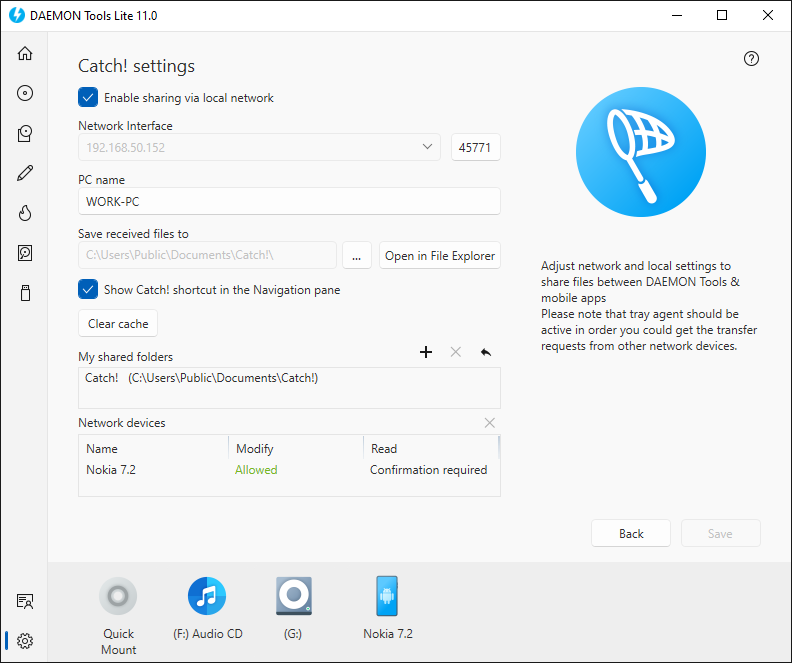
To turn on and use this feature, go to Settings tab on the Sidebar, and then choose Catch!. The following window opens in the Main zone:
-
Choose Enable to turn this feature on
-
Set the PC name. It defines how the other devices will see you in the network in DAEMON Tools Lite and in Explorer
-
The Port is set by default, according to your local network settings
-
Pick the folder where all the received files will store, or leave the default settings
-
Check the Show Catch! shortcut in the Navigation pane to add the Catch! shortcut for easier access
Since DAEMON Tools Lite 10.11, you can browse the Catch! folder of a PC. After DAEMON Tools Lite 10.10 released, you can choose folders for browsing from the other device that has DAEMON Tools Lite or Ultra installed.
-
Manage My shared folders that will be available for browsing for PCs that have DAEMON Tools Lite or Ultra installed. To add a folder for browsing, press the Plus in the upper right corner. Note, that all the subfolders will also be visible while browsing. To delete the folder for browsing, choose the needed folder and press the Cross icon. If you want to go back to default settings and leave only the Catch! folder available for browsing, press the Arrow.
-
The list of Trusted and Blocked Network devices is indicated in the window below. To add a new PC to the Network devices you need to accept the sending file request and pick Allow. To manage permissions for a certain device, right-clck it, choose Manage permissions and pick the relevant options.
If you choose Block this device option when a sender throws a file, his PC will appear in the list with Blocked status, and you will no longer receive the files it sends. To change the device status, open the Manage permissions and choose the relevant options.
Once you’ve configured these settings press Save and you’re ready to go!