Edit an Image wizard allows you to adjust the data and the settings of the previously created or downloaded image.
Edit an Image wizard is a part of Image Editor paid group. Learn more about the features included in Image Editor group in the relevant article.
You have several ways to edit an image: choose the image it from Images catalog and click Edit… option from its contextual menu; open Image Editor from main window or from sidebar, choose the type of image file (data or audio), and then choose the image file; and if you have a Windows Integration feature activated — you can open the Image Editor directly from the Explorer contextual menu.
Edit Data Image
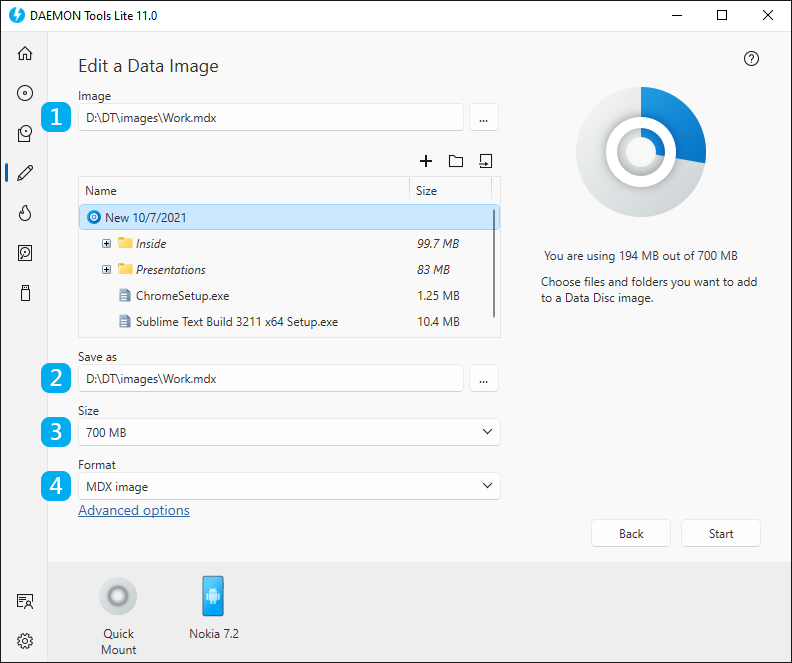
- Edit and rearrange the list of the files of the image. Use the contextual menu and Add Files, Create Folder, Import From Image icons to adjust and arrange the list of files. Also, you can create a boot image if there are one or several bootable files among the added ones. Bootable files are displayed in blue color. To make certain file a bootable one, go to its contextual menu and choose Boot Image option. In this case you will be able to adjust its options on the next step.
- Choose the name and the path for the new image.
- Choose the Size of the virtual disc.
- Choose the Format of the future image (MDX, MDS/MDF or Standard ISO). Note that this option influence on the other options.
The basic options are adjusted, so now you can click Start button and begin creating an image. Also, you can set Advanced options. To go to Advanced options, click the link in the bottom of the wizard. Here you will be able to:

- Choose the file system.
- Protect the image with password. After checking this option, you will be able to enter your password and confirm it.
- Split an image in volumes. Most often this option is used to create several volumes of image file and burn them on CDs or DVDs. After checking this option, you will be able to redefine the size of the volume.
- Check Compress option in order to reduce the size of the image.
- If you have bootable files, then here you will be able to adjust their settings:
- The type of emulation option has several alternatives. Choose No Emulation option if you want the bootable image to be loaded into memory. If you mount an image with Floppy Emulation type, special virtual A: drive will be created for it. Note, that the size of bootable files needs to be smaller than the size of virtual floppy. If you choose Hard Drive Emulation option, virtual C: drive will be created for your image.
- Load segment of sector option defines the initial segment. 7C0 is a traditional segment that is equal to zero.
- Number of loaded sectors is a quantity of virtual sectors that will be saved at Load Segment during the boot process.
- Click Start button to begin editing an image or Back button to return to the catalog of New Image group. To review the basic options, click the relevant link in the bottom of the wizard.
- Wait a few moments while an image is being edited.