Edit Audio wizard allows you to adjust the data and the settings of the previously created or downloaded audio image.
Edit Audio wizard is a part of Image Editor paid group. Learn more about the features included in Image Editor group in the relevant article.
You have several ways to edit an audio image: choose the image it from Images catalog and click Edit… option from its contextual menu; open Image Editor from main window or from sidebar, choose the type of image file (data or audio), and then choose the image file; and if you have a Windows Integration feature activated — you can open the Image Editor directly from the Explorer contextual menu.
Edit Audio Image
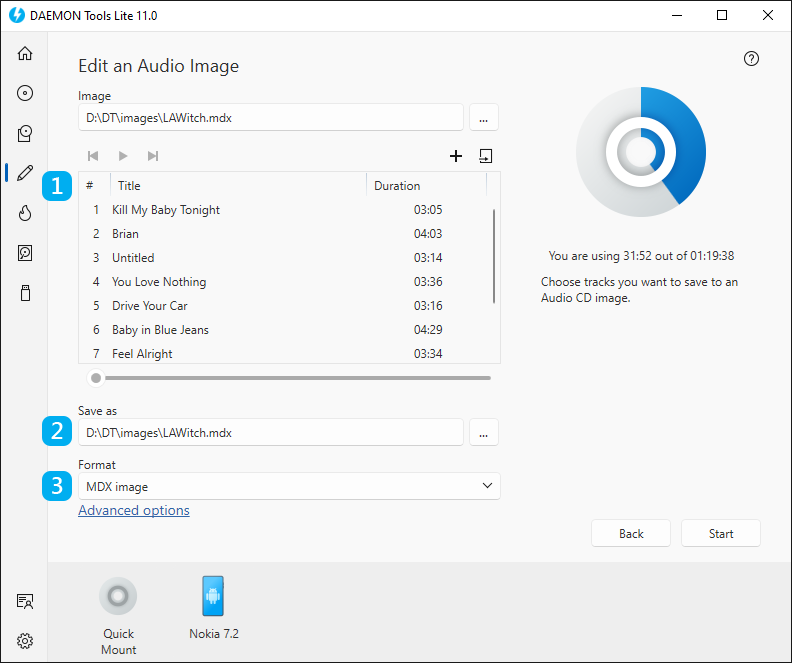
- Edit or rearrange the audio files of the image. Use Add Files and Import From Image icons to fill the list and the contextual menu to rearrange the tracks. Also, you can listen to added files using simple audio player embedded to DAEMON Tools Lite.
- Choose the name and the path for the image.
- Choose the Format of the future image (MDX, MDS/MDF or Standard ISO).
The basic options are adjusted, so now you can click Start button and begin saving an Audio image. Also, you can set Advanced options. To go to Advanced options, click the link in the bottom of the wizard. Here you will be able to:
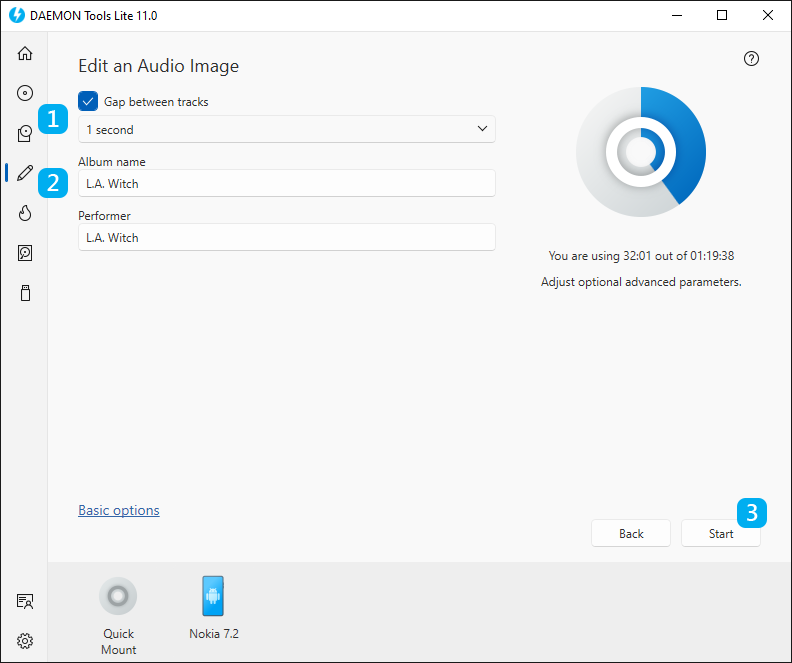
- Check Gap between tracks option and choose the needed interval if you want to add spaces between music files.
- Add or edit Album name and Performer for the CD-Text.
- Press Start and wait a few moments while an image is being edited.